Creating Webhooks
Webhooks are the core of webhook.rodeo. Each webhook you create gets a unique URL that can receive POST requests from any service. Let's walk through everything you need to know about creating and configuring webhooks.
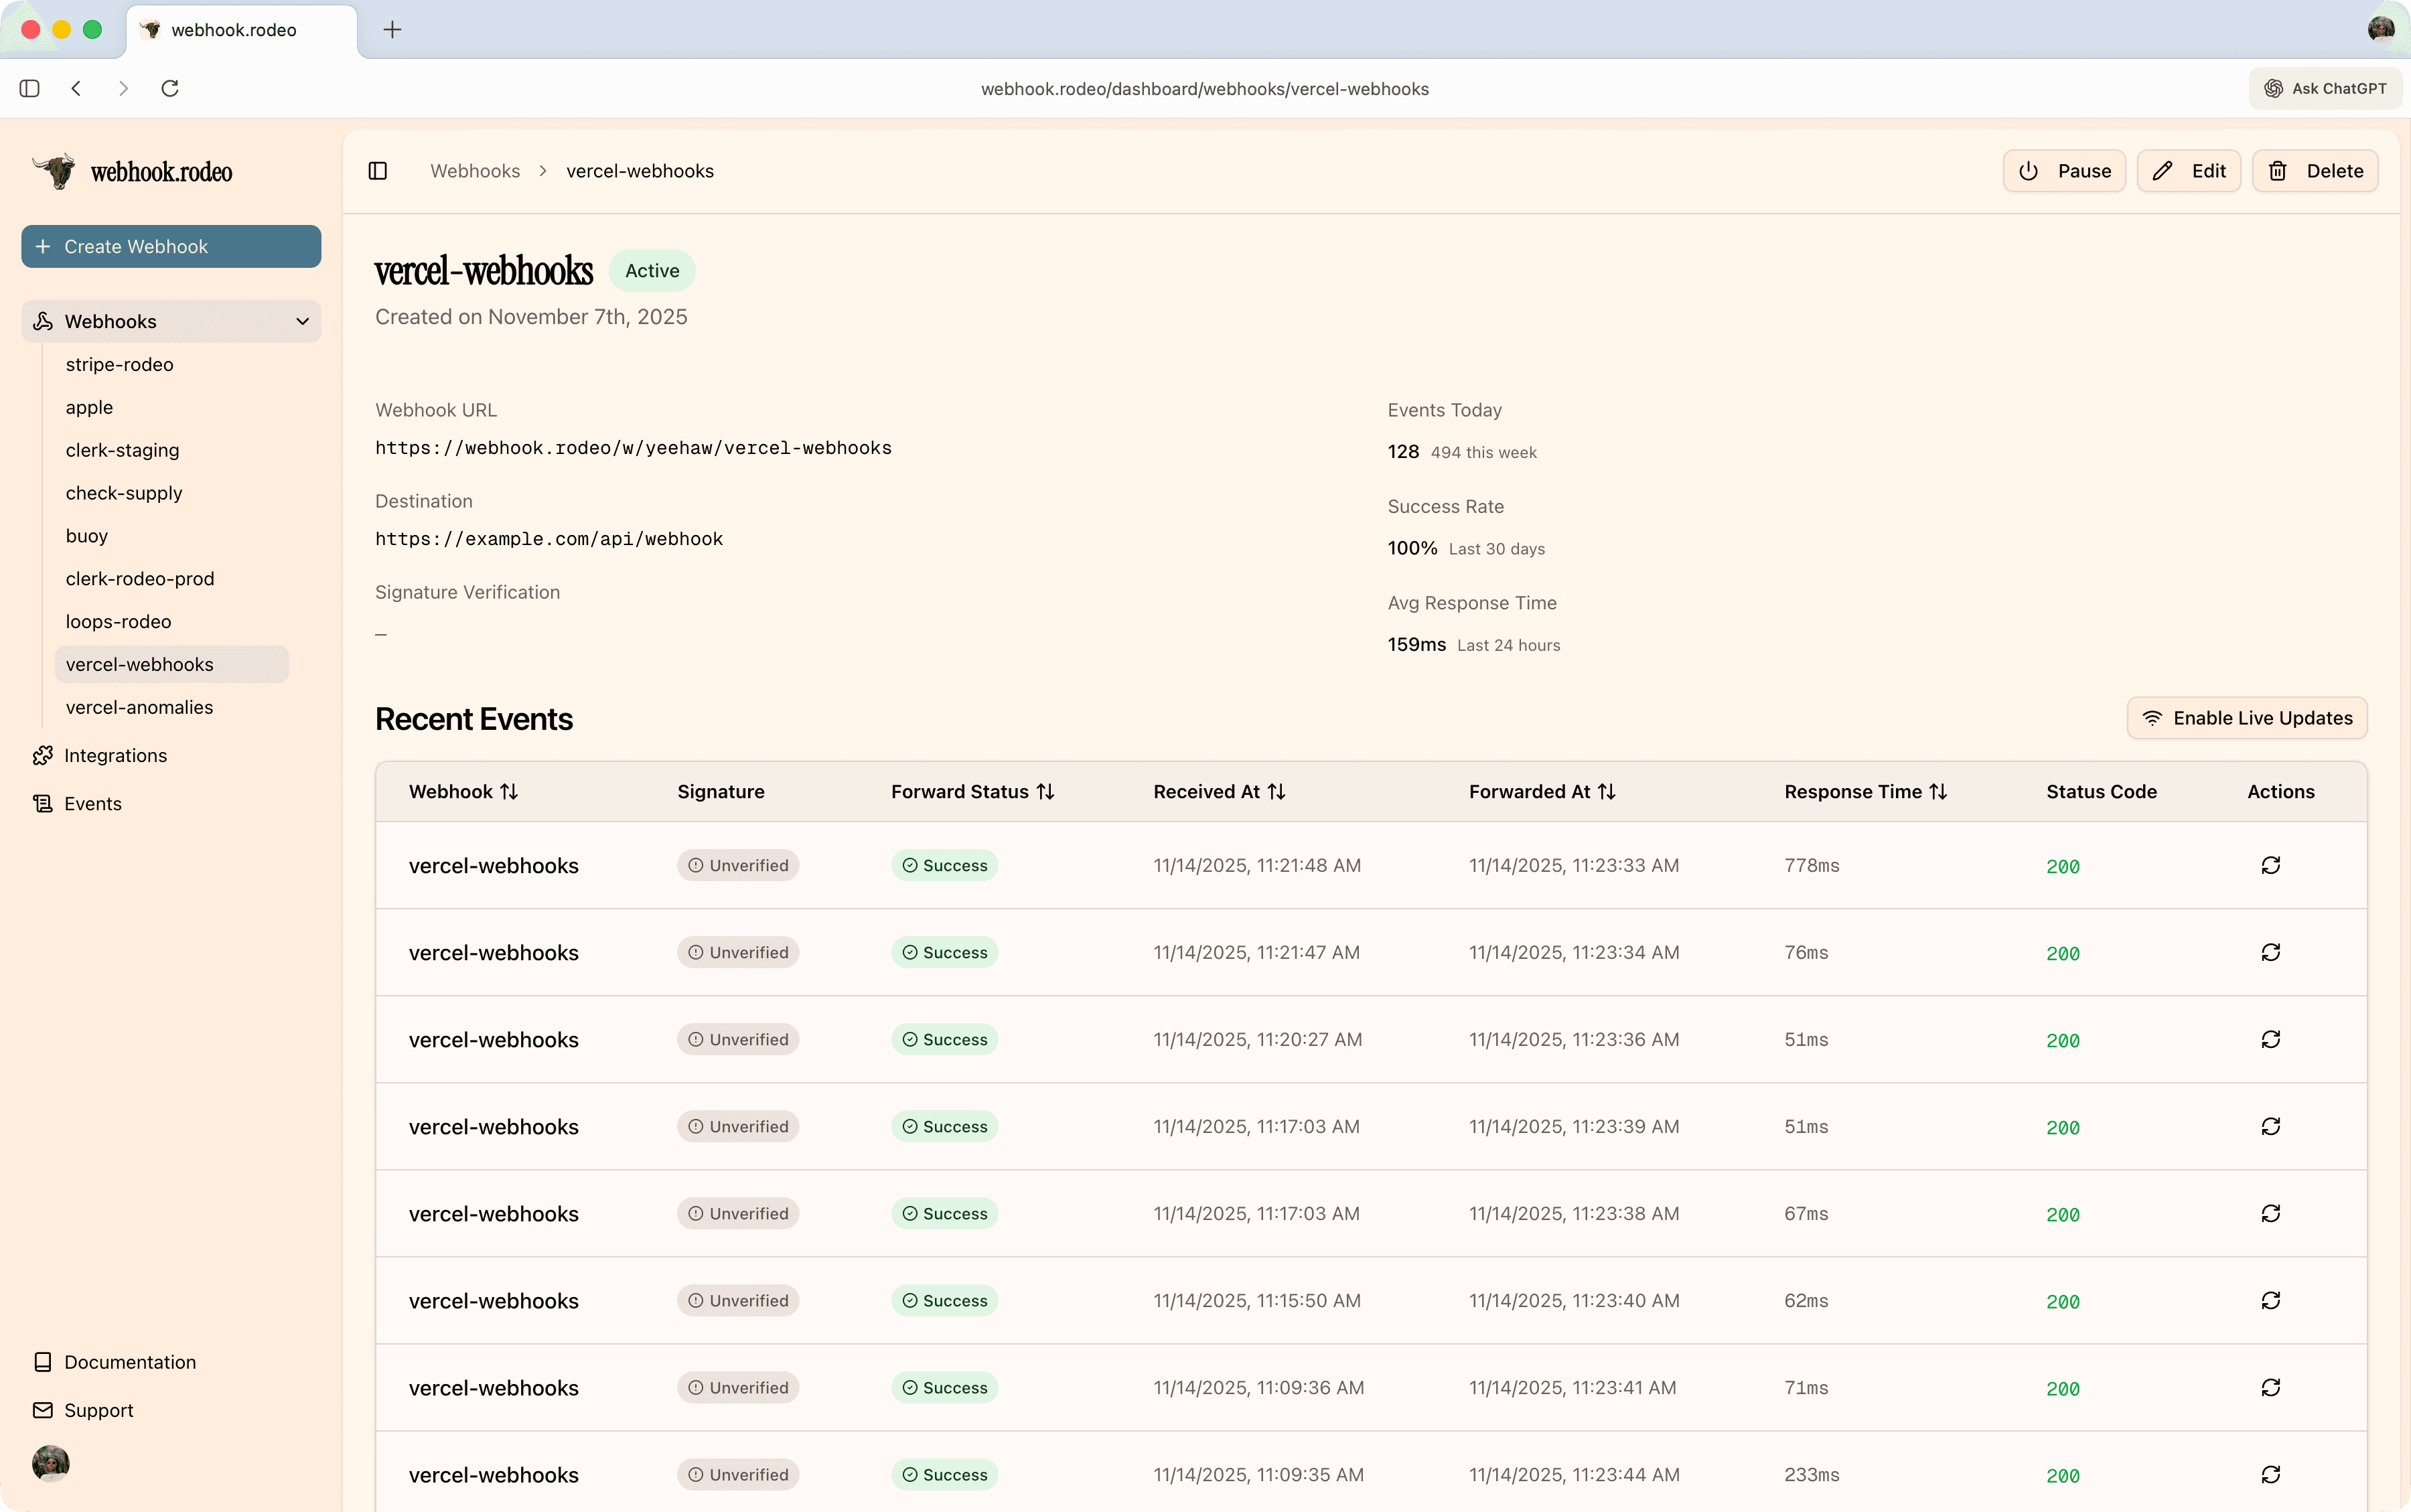
Creating a webhook
You can create new webhooks from your dashboard. When you click the "Create Webhook" button, we'll auto-generate a link for you that can start receiving webhooks immediately. You can optionally rename the URL, add forwarding, and enable signature verification as well.
Renaming your webhook url
You can rename your webhook at any time from your dashboard. Simply click the webhook name in the list, click edit in the top right, and enter a new name. The webhook URL will update automatically.
Renaming your webhook will update the webhook URL you receive events at. Make sure to update any existing integrations to point to your new URL.
Forwarding events to your application
Forward URLs tell webhook.rodeo where to send your webhooks after capturing them.
Configuring a forward URL
- Edit your webhook
- Select "URL" as the destination type
- Enter your endpoint URL (e.g.,
https://your-app.com/api/webhooks) - Save
What happens when forwarding
When a webhook arrives:
- webhook.rodeo captures and logs it
- The event is immediately forwarded to your URL
- We track the response status, headers, and body from your application
- If forwarding fails, we automatically retry (up to 3 times)
- All attempts are logged for debugging
Forward URL requirements
- Must be HTTPS (HTTP not allowed for security)
- Must be publicly accessible (no localhost or private IPs)
- Must respond within 30 seconds (or the request times out)
- Protected against SSRF (internal network IPs are blocked)
Active vs inactive
Webhooks can be active or inactive:
- Active - Receives and processes webhook events
- Inactive - Rejects all incoming events with a 403 status
Why deactivate?
- You've reached your plan's webhook limit and need to pause one
- Temporarily stop receiving events during maintenance
- Keep old webhooks around without them consuming your quota
Toggling status
Use the toggle switch in the webhook details panel to activate or deactivate a webhook at any time.
Only active webhooks count toward your plan limit. Inactive webhooks don't count, so you can keep as many as you want inactive.
Signature verification
Signature verification proves that webhooks are actually coming from the service you expect (not an attacker). This is especially important for production environments.
How it works
- You provide a secret (any string) when creating your webhook
- The sending service signs the webhook payload with your secret
- webhook.rodeo verifies the signature before accepting the event
- Invalid signatures are rejected with a 401 status
Adding a secret
When creating or editing a webhook:
- Check the "Enable signature verification" option
- Enter your secret (use a strong, random string)
- Save your webhook
Now when services send webhooks, webhook.rodeo will automatically verify the signature before forwarding the event to your application. We intelligently parse the headers and choose the correct signature to use.
For details on signature verification, see our Security documentation.
Webhook limits
webhook.rodeo has different active webhook limits based on your plan. When you try to create or activate a webhook beyond your limit, webhook.rodeo will display a friendly message explaining your options:
- Upgrade your plan for more webhooks
- Deactivate an existing webhook to free up a slot